Washing the vehicle: Always use a clean wool or microfiber mitt. Always start with a clean bucket. Always use soap specifically for washing vehicles (the alkaline level in dish soaps and other soaps are at a high enough level to damage your vehicles finish). If you want lots of bubbles and you want to save money, get Meguiars car wash soap, it's sudsy and inexpensive. | 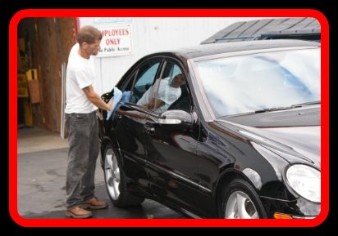 |
 | Start at the top of the vehicle, than make one lap around the vehicle getting all the windows. Now move to the hood, than the trunk, now either side. I start from the back passenger side moving toward the front of the car, than i get the front end, and around to the drivers side. That leaves the back end last, which is usually the dirtiest as far as exhaust fumes and road fall out. Keep dipping your mitt into the bucket. I like to go over the car twice, the second time mostly just hitting everything from waist level and up. |
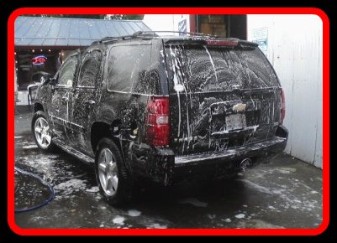
The first thing I do when I rinse is spray a coat of water over the entire vehicle so none of the soap dries. I start at the top and work my way down, making sure to rinse areas where soapy water builds up like around the wipers and the cowling, any luggage rack supports, in and around the gas door, behind license plates, in and around side view mirrors, etc. Rinse the car twice if needed. Another method is to remove the hose nozzle and allow the water to flow across the finish gracefully, this is called "dancing the water", I believe, something like that. It's a real good way to get a perfectly rinsed vehicle because the water almost pulls itself off the finish as it drains. | 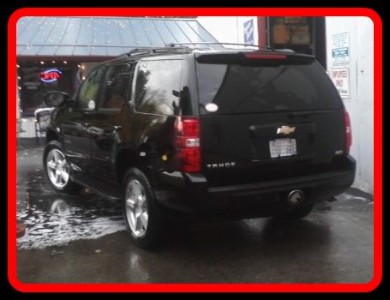 |
 | Clay Barring: When you buy a clay bar kit it will come with a spray lubricant which I only suggest using if the vehicle has heavy contaminents on it, other wise just leave the vehicle wet from rinsing, you may even have to re-spray the vehicle a few times while your clay barring, if the clay starts to skid than you know it's not wet enough. This time I can't really promote Mequiars clay bar, it's not my favorite and it doesn't last long. For me, I use clay magic and I keep it in a plastic bag so it doesn't get dirty. My clay bar has lasted me through hundreds of details, just keep kneading it and don't drop it on the ground! |
Always clay bar the finish whenever waxing or polishing, even just hand waxing, if you've ever waxed or polished before you will be amazed at how much easier it is with the finish clay barred. So, with the surface still wet, rub the flattened clay bar over the surface until you don't feel any resistance. You want to focus on flat surfaces like the roof, trunk, and especially the hood. |
This process is more of a feel than a see thing, you should feel the clay glide across the surface easier and easier as you rub on it, You don't have to apply much pressure, just make sure the surface is wet. When you've clayed the entire vehicle, rinse again the same way as before, start at the top and work your way down. If the finish was really bad and you ended up doing a lot of claying, you may want to re-wash the entire vehicle with soap again. |
Drying: Always dry the vehicle with a clean, synthetic or microfiber chamois. Do not allow the vehicle to dry on it's own. Once you've gotten most of the water off with the chamois, use the vacuum on blow mode with the pincher attachment, and blow out all the cracks and crevices. Keep the chamois in one hand, using it to cover and catch any water spraying everywhere. Pay attention to areas such as the cowling, wipers, side view mirrors, grill, head and tail lights, etc. Blow out the wheels and the side walls, especially around lug nuts and anywhere you see water pool up. |